7:55 I wake up to see Jayson walking out the bedroom door, on his way to eat some cereal, hug the kids, and leave for work a few towns away. I check Facebook and e-mail while my brain is waking up, then get dressed. I step on the scale on my way into my closet- up a pound from yesterday. I never thought achieving obesity would be so easy, nor that I would look so much like myself when I got there. I’m four pounds into the Obese Range, and I have been hovering around that mark for years. Drives me mad, and I brainstorm new ways to build muscle mass without using my hands because the cyst in my wrist is the size of a grape right now, and my carpal tunnel and te-no-sy-no-vi-tis the doctor’s call DeQuervain’s is acting up. (It means my thumb base joint really hurts.)
I get dressed into workout clothes, same as I do every morning: I earn an outfit and a shower after I’ve gone on the treadmill or done some heavy housework. I make my bed and pull open the blinds on my way out the door.
8:30 I’m in the kitchen, and hungry. So hungry. I mix up my morning protein shake, dose out my daily meds, and…..load the dishwasher and wipe down the sink. Cocoa has wrapped a loop of string around both shoulders and tells me “I’m your reindeer! Drive me!” I drive him over to the table and sit down with my breakfast. I contemplate the crumbs under the table and wonder whether I will sweep today, or whether I will have the kids do that chore. Do I want it done well, or do I want a teaching moment?
9:05 I’ve started this post, in a burning desire to find it what I actually accomplish in a day and why I am so tired at the end. I call the kids for school- “We’re all together again, we’re here we’re here” we all bellow as our traditional start to the school day. Madeline gives a prayer, we say the Pledge of Allegiance , and Ernie starts singing. I don’t know why or remember when, but this song is now a rock solid part of our daily Morning Circle Time.
“There’s a right way to live and be happy, it is choosing the right every day. I am learning the teaching of Jesus, He will help me and show me the way. Choose the right waaaaaaaaaay, and be happpyyyyyyy, I will always choose the riiiiiiight!
We say our weekly verse, and the kids break up.
Ernie heads to the couch and opens the lap top. I pick up her manuals and ask her to open her history book. She takes notes on the ancient history and trade of Egypt and Nubia.
Mimi opens Khan Academy on the desktop and works on earning enough points in her math studies to level up her monster avatar. She finished her monthly work last week, and has earned a week off of her school curriculum, but I still insist on an hour of Learning. (Her choice of topics though. The first few days she studied ancient mythology.)
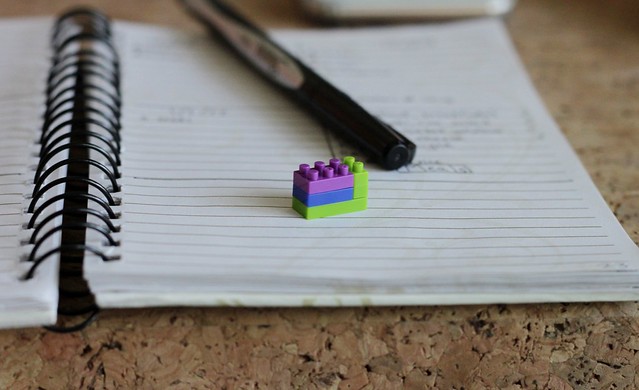
Mimi drops a snail she made out of nano blocks on my desk.
9:30 A package arrives. Expecting it to be the crowder peas I ordered for New Years Day, I’m surprised at how light it is…but it’s my 10-foot-long dryer vent cleaning brush. Yippee! I am one cleaning instrument closer to being an Adult, and not Screwing Up.
10:00 I set Ernie to doing her spelling, and then looking at the revisions I gave her for her paper yesterday, and head upstairs to clean. I pull the clothes out of the dryer from last night, and start jabbing that wonderful brush in the lint trap. Truly impressive. I love it. I pull out handfuls of wadded up dryer lint, fold and put away the laundry, turn on the dryer, and head outside with a step stool and my new brush.
Perhaps scrubbing out the dryer vent from the outside, with the dryer running, and no eye protection is not the best way to approach this cleaning task. But my GOSH is it effective and satisfying. I scrub and scrape and pick at the vent, and soon my deck looks like it’s been raining volcanic ash. (I’m a Seattle girl, Mt. St. Helens is part of our collective psyche.) I trust the wind to carry it away, and let Ernie help me pick all the bits out of my hair and sweater. I need to sweep the deck anyway, it’s been a while, but the wind here is strong and frequent so it’s not a pressing task.
11:00 Mimi finishes her time on Khan Academy, and Cocoa starts his after Ernie helps him log on. I am so glad the girls like to help him with projects like this, because it drives me mad. I start Ernie on her math and grab a bite to eat. I’m not normally this hungry, but I feel like I might pop someone’s head off soon. Glass of water and a bite of a protein bar, I’m good. My FitBit says I’ve not even gone 1,500 steps today, and I slept 6 1/2 hours last night. The treadmill is going to be rough this afternoon.
I promised dinner to a gal who has the flu, and kind of planned on dropping that off during my hour lunch break, so I could get other stuff done in the two hours after school before dinner. Guess treadmill will need to be later in the day. I hope she likes my workout clothes. I hope the grocery store likes my work out clothes- I’m heading there first to grab a salad and dessert. Maybe I will change my clothes- what’s more important, my dignity or something that reminds me to work out?
11:30 Mimi and Coren are back outside. They practically live outside these days- the sun is glorious here!
11:45 Ernie promises me that she will finish her math before lunch, and I head out the door to the grocery store to take dinner to the lady with the flu whose basement flooded yesterday. Been there, done that, she deserves a pizza! Grabbed two pizzas, two salads, and two boxes of cookies- might as well get dinner for us while I’m there! I decided last minute that the meat loaf in my freezer wasn’t going to be nearly big enough for her two adult, one teen, two child house.
1:00 Round trip, the whole thing took a little over an hour- I’m home just in time to grab a glass of water and start Ernie on her next thing for school. And yeah, I had a slice of panettone cake. Because YUM. It was my birthday present from Jays, we opened it last night. (A buttery, egg-y, really tall yeasted Christmas bread/cake with citron and dates.) I send Mimi upstairs to start on her weekly chores- clean and vacuum her room and bathroom.
2:00 My stomach is trying to eat itself. I grab another 32 oz. glass of water (I finished my first one), and heat up a tortilla with swiss and ham. And then have a scoop of PB. WHY AM I SO HUNGRY TODAY? Ernie’s done with spelling and grammar now, and working on science.
3:00 Science is done, she knows all about esters and compounds and carbohydrates…and I cut her loose. It’s 50 degrees outside, we have two hours of light left, a cold snap is coming, and she’s 11. So close to getting her monthly work done, she literally has half a school day (a computer lesson and a math lesson) plus reviewing before her test. I really don’t feel like getting on that treadmill, but I promised Jays a date night tonight and so I need to go earn that shower and outfit. I think I’ll go around the neighborhood instead- the kids will be fine, right?
4:30 Yeah, that workout was rough. I think my FitBit is acting up- there’s no way my heart rate was just over 90 if I was working that hard. Or maybe…I’m just that big of a pansy. Earned my shower though! Kids are all still outside, the wind of awesome and the sun is just starting to dip. It’s perfect.
5:00 Got my outfit, and Ernie made hot cocoa for everyone- they’re finally indoors. Their hair looks amazing. Trying to decide if I need to take a nap or practice piano more.
5:15 Jays is home, and we whisk out the door. I’m saved! Kids make plans for Netflix and corn dogs and have a great night at home. Jays and I try a new sushi place. Eh. They have an all-you-can-eat option for $24 that we decline, but their smoked salmon, agedashi tofu, and crispy salmon skin are all fantastic. We stock up at Costco on milk, soy sauce, and salads for the week and then swing by the grocery store for gum drops. Ernie had a science activity come up today that looked really fun, but required gum drops. I think all the kids are going to have fun making organic compound molecules tomorrow.
8:15 We’re home, Ernie is cleaning the kitchen. I tuck the littles into bed, Jays unloads the groceries and gets ready for bed, and I sit down at the computer to deal with the new stack of insurance notices and bills that have rolled in. It’s taking a remarkable amount of organization to pay the bills for Jays’ broken finger in October. Over the twenty-two bills we’ve seen so far, insurance has paid out almost $5.5k, we’re in almost $3k, and I have a spreadsheet and a file folder system to track it all.
9:00 Ernie is working on school work (her choice, not mine) and bills are paid. Trying to decide if I should start working on Christmas cards (New Years’ Cards…) or go see if there are groceries to put away.
9:30 Go to make myself a cup of orange peel tisane and found out the spoons are dirty. Ernie unloaded the dishwasher (yay!) but didn’t run it (oops.) She and I fetch all the dirty dishes out of the cupboards and load them into the pantry dishwasher, including all the spoons. I use a paring knife to scoop my tea bag out of my mug, add some almond milk and splenda, and sit down to contemplate….something. I’m sure there is something in my head.
Ernie sits with me to chat about tomorrow’s chores and the agony of finding out there are new My Little Pony episodes just as you’re turning off the TV for the night. She’s finished her tech and math lessons, plans on doing her last poetry lesson tomorrow, and will get ready for her test. Jays is downstairs watching Sports- we’re getting close to the Final Showdown for College Football Players and there are games to watch almost every night, tucked down at the end of his Google calendar. My tea got too strong and too cold while I loaded up the dishwasher, so I enjoy some of it and leave the rest.
9:50 It’s nearly 10. Why am I just sitting here? Downloaded my photos for the day and did some light editing. Loaded a few to Facebook, I think it’s time to change my hard-earned outfit for some pajamas. I need 800 steps to hit my 10k goal….the power of three grocery trips plus a spin on the treadmill!
10:00 Found pajamas and joined Jays in the basement to watch the football game of the night- Michigan and Florida. Michigan played an awful game, almost caught Florida at the very end, and lost by one point. They complained bitterly about the final calls, but I’m thinking they should have stepped it up way before then.
11:00 Heading up to bed. Never did reach that 10k step goal though. We’ve been getting news of a serious medical emergency in the family, piece-meal, through out the day. I read through what we know while I brush my teeth.
11:30 Jays turns on the audio for where we’re studying in the scriptures together and we listen, under mounds of blankets.
11:45 I hear Cocoa thump in his room- that’s my cue to go pile him back into bed because most of his body is on the floor.
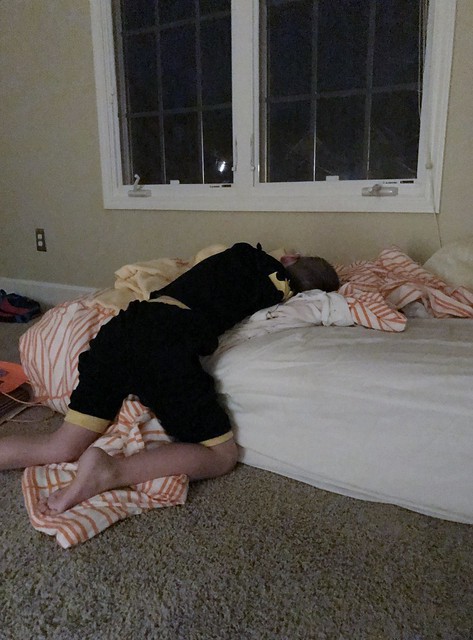
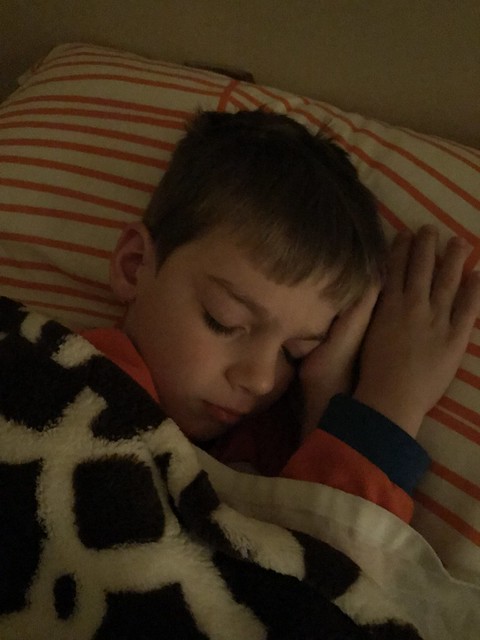
12:00 Lights out, and prayers for Jays’ family and my children.
Filed under: Day in the Life, Home Schooling, Uncategorized | 2 Comments »